
5 Forest Photography Tips For Beginners
As a nature photographer, you probably often wander through the forest, looking for the right subject to photograph. Whatever your subject, the forest is eager to tell you its unimaginable stories.
Forests encourage exploration and experimentation with different subjects. For beginner photographers, it is a challenging environment that can test your knowledge of photographic equipment, your readiness to work in less than ideal lighting conditions, and your attention to composition. The following tips will help you master the technical and compositional aspects of forest photography.
1.Mastering exposure
Even on a sunny day, there is less light in the forest than you think. Trees and their leaves create shadows and reduce the amount of light that enters the lens. With your camera on a tripod, you can use fairly slow shutter speeds. However, you need to be careful, as an almost imperceptible wind may move vegetation or leaves, resulting in a blurry image.
Therefore, you should control the exposure and camera settings. Don't rely on the camera's automatic mode, as it can easily be confused by brighter or darker spots, or produce average settings that ruin the composition.
Correct exposure is important
Manual mode should be your first choice for the following reasons. You can use the shutter speed and narrow aperture (large f-number) needed to avoid movement. If you need more light, just increase the ISO.
Regardless of the weather, when you go out for forest photography, start with the lowest ISO possible, such as ISO 64 or ISO 100. Sometimes, you'll need to increase the ISO value to 400. There's nothing wrong with this, even with a low-end digital or mirrorless camera, and it won't produce terrible ISO noise (or at least no noise that can't be removed in post-processing).
When using a tripod for forest photography, a good starting point is a shutter speed of ½ second, aperture f/11, and ISO 100.
2.Shooting in RAW format
Speaking of post-processing, if your camera supports RAW shooting, use it, even if it means you take fewer photos. This is one of the tips for forest photography that applies to many other types of photography. In fact, RAW image files take up more storage space on your memory card. If you plan to shoot longer, carry a spare memory card with you.
The RAW format records all the data the camera is able to acquire. Therefore, you will have all the information you need to adjust white balance and fix exposure errors that may occur in post-processing. It will also produce more accurate colors and give you more freedom to adjust in post-processing.

Camera shooting format is also an important skill
Try not to over-edit your photos, especially don’t exaggerate the colors and contrast. Over-editing can create an unrealistic effect and ruin the natural beauty of the forest. Forest photography only requires minor adjustments with the sole purpose of making the image look more like a landscape.
3.Understanding the effect of light on forest photos
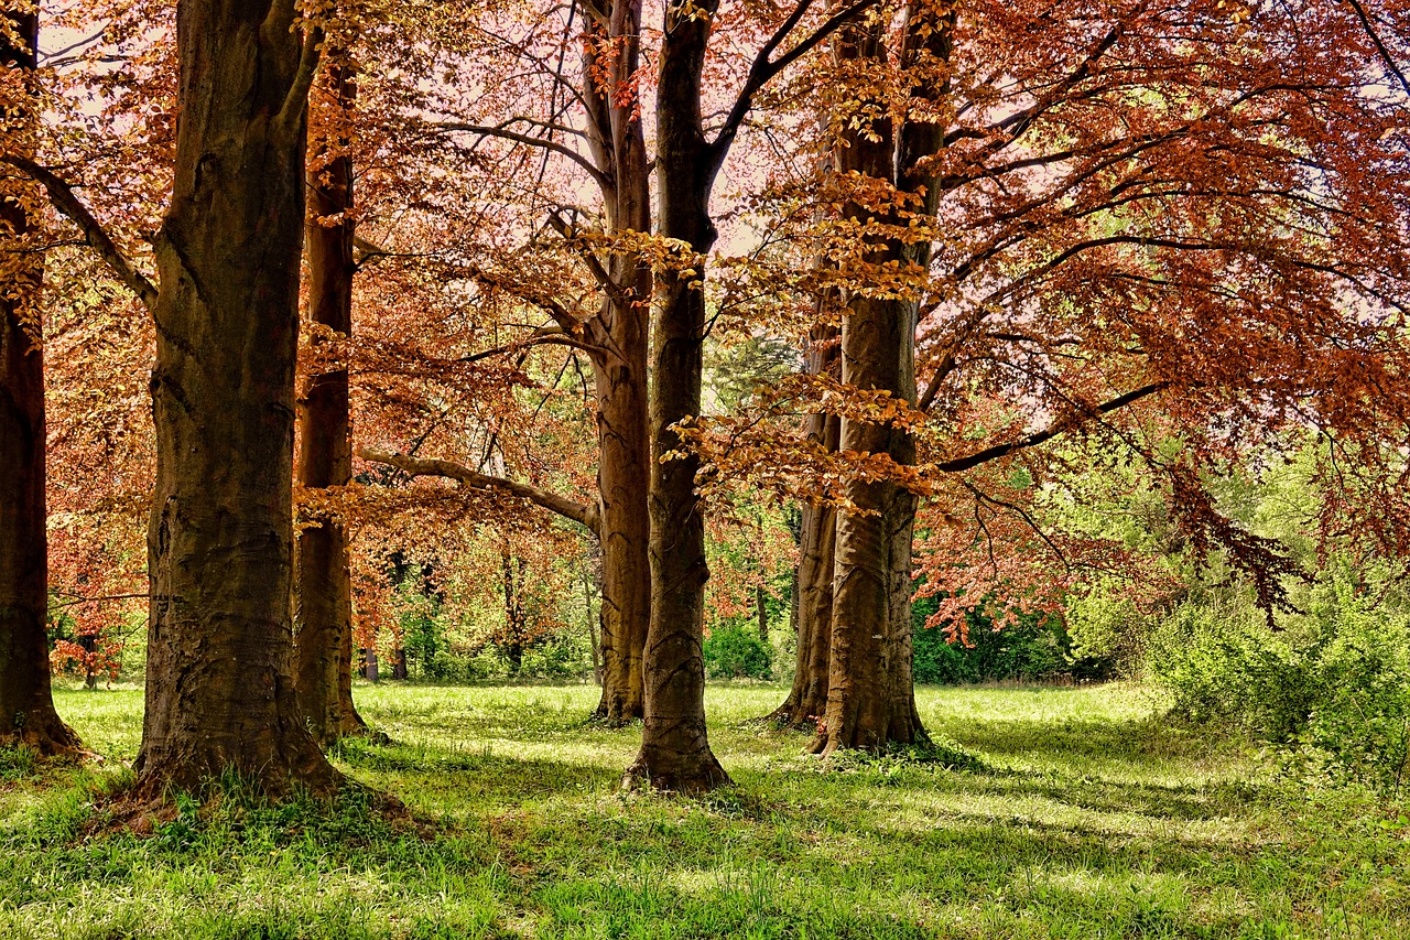
Contrary to popular belief, the best light for forest photography is not the bright light of a sunny day. This is because, on a sunny day, the sunlight shining through the trees creates bright areas that contrast with the darkness of the trees and the shadowed areas under the leaves.
The resulting wide dynamic range is a stretch for most cameras and photographers. Strong sunlight can often cause the shadows of trees to fall on other trees, making everything a mess.
Therefore, it is better and easier to shoot on cloudy days or near sunrise or sunset when the sun is low in the sky. Fog, mist, rain or snow are all good choices for forest photography compositions.
If you do want to shoot a high-contrast scene, choose to underexpose the darker areas and set the exposure to the brightest areas. It is more likely to recover detail from underexposed areas than from overexposed areas. Also, underexposing areas will create a dramatic effect, while overexposed areas are just obvious mistakes.
If the sky is the brightest area in the scene, you can try using a polarizing filter to add a little contrast and color. However, in general, in forest photography, you should actually be careful about composing your shot so that you avoid the sky in your shot altogether.
Pay attention to light and composition
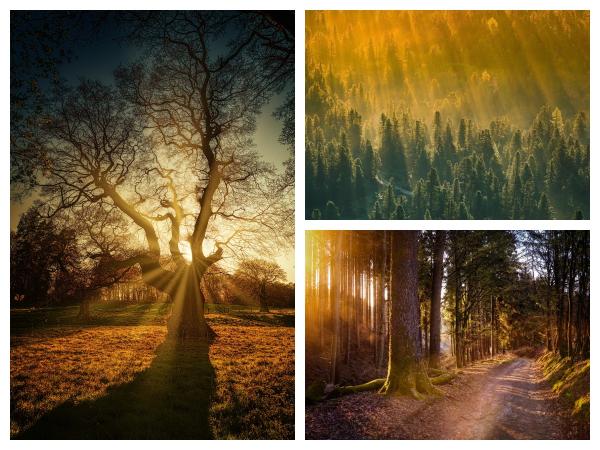
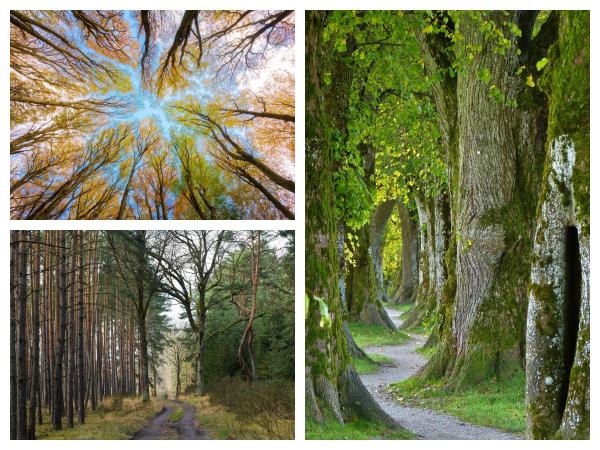
4.Try different focal lengths
Another misconception is that landscape photography and all its subcategories require wide-angle lenses. In fact, you need to experiment with different focal lengths first before you decide on the one or two that work best for you.
A wide-angle lens creates a wide perspective, covering a range that the human eye cannot see, and produces a deep depth of field. It makes distant objects appear farther away, and objects close to the camera appear closer.
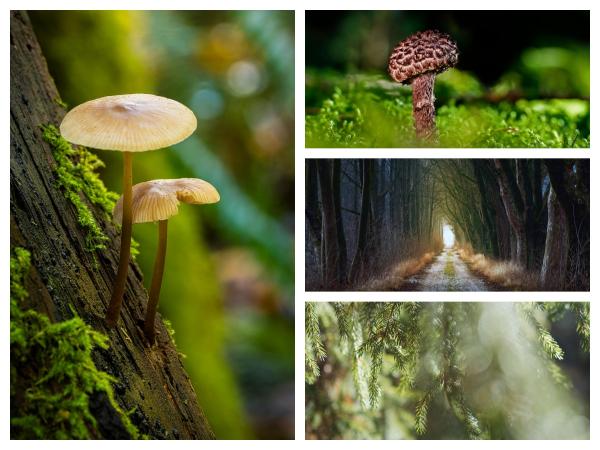
Try using wide-angle lenses for photos of forest environments, compositions designed to emphasize the height of the trees, and multi-layered scenes. That is, there will be something interesting happening in both the foreground and the background. However, unless you are careful, you will end up emphasizing a bunch of different and old leaves. So generally avoid using wide-angle lenses for photos that are close to the ground.
A telephoto lens has a narrower angle of view, capturing less of the frame than the human eye can see, and has a shallower depth of field. It will make objects appear closer to the camera and help you see details in the distance. Try using it for close-ups and detail photos, using a main focal point to highlight clouds and foliage.
In the meantime, you can also try using a standard 50mm lens and a macro lens, which most closely approximates the perspective of the human eye, to capture some of the forest’s tiniest wonders.
Different focal lengths produce different shooting effects
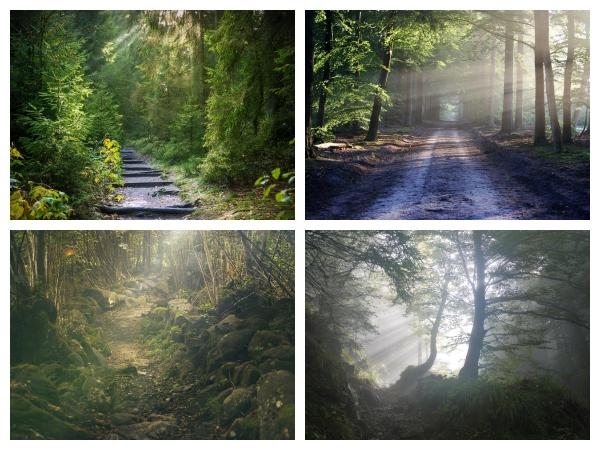
5.Note the guide lines
Lines are the most common geometric shapes in a forest, and they have a greater impact on composition than you might think. The most obvious are vertical tree trunks.
However, you may also see horizon lines, fallen trees, long branches, and straight or winding forest paths. Don't press the shutter until you have determined your framing, checked the direction of all the lines, and placed your focus in a favorable position.
For example, a winding path is more appealing when it starts in the lower left corner of the frame and disappears into the horizon. It adds a sense of depth and conveys parting and melancholy.
Place it in the middle of the frame and it creates a separation between the two sides and leads the viewer quickly through the frame with a different energy (like a running path, for example). Straight lines also lead the viewer out of the frame faster, which is why you want them to run across the longest dimension of the frame, or diagonally.
Tips: Vertical and Horizontal
If you want to emphasize the height of the tree, use a vertical composition, align the trunk with the edge of the frame, and place the camera as close to the ground as possible. On the other hand, if you want to emphasize the leaves, use a horizontal composition and try to place the camera as close to the leaves as possible.
Leading lines in composition are also important
Make sure your composition has a focal point and that the lines in the frame lead to that focal point. For example, you could lie on the ground, point your camera toward the sky, and use the tree trunks as leading lines pointing toward the blue sky. Or, you could use thick, gnarled branches as leading lines pointing toward leaves bathed in sunlight. Use your creativity because the forest offers you endless opportunities.
Together, these forest photography tips are a great starting point for beginners. No matter the season or weather forecast, you can always find a forest near your home and visit it. There are plenty of subjects waiting for your patience in practicing camera settings, composition, and storytelling.
Try taking multiple photos of the same landscape, changing your camera settings and framing with each shot. Then, take the time to review your photos, comparing them to see which one speaks to you more and captures your original intention. Over time, it will become second nature and you will develop a personal workflow that enhances your experience.

Application of Low Distortion Lenses In Industrial Vision Systems
Low distortion lenses, as the name suggests, can reduce distortion and image distortion. They are widely used in many fields, such as industrial vision systems.
What Are The Shooting Techniques For Wide-Angle Lenses? How Is It Different From A Standard Lens?
Because of its unique perspective, wide-angle lenses have unique shooting effects and are often used to shoot wide scenes and close-up subjects. So, what are the shooting techniques for using wide-angle lenses?

Characteristics And Main Applications Of Laser Scanning Lenses
A laser scanning lens is a special lens, a type of scanning lens, and a device that can precisely control lasers when using them to record or read information.